Show the right menu at lunch and dinner — automatically
Show your lunch and dinner menus at the right times, automatically. Prepare the menus once, then set when each one should appear.
A daily schedule for your restaurant
If the lunch menu is still on screen in the evening, guests may see an offer that is no longer available. Set up scheduled menus once so you do not have to remember to switch them every day.
| Time | Display |
|---|---|
| Before 11:30 | Video programme |
| 11:30–14:00 | Lunch menu |
| 14:00–18:00 | Video programme |
| 18:00–21:30 | Dinner menu |
| After 21:30 | Video programme |
Example timetable for a day when the restaurant is open. Use your own service hours and leave closed days out of the menu schedule.
How the switch works
During its scheduled slot, the menu replaces the video. Afterwards, your scheduled video programme resumes. Adapt the times to your business and prepare different menus for different weekdays.
Prepare the changeover
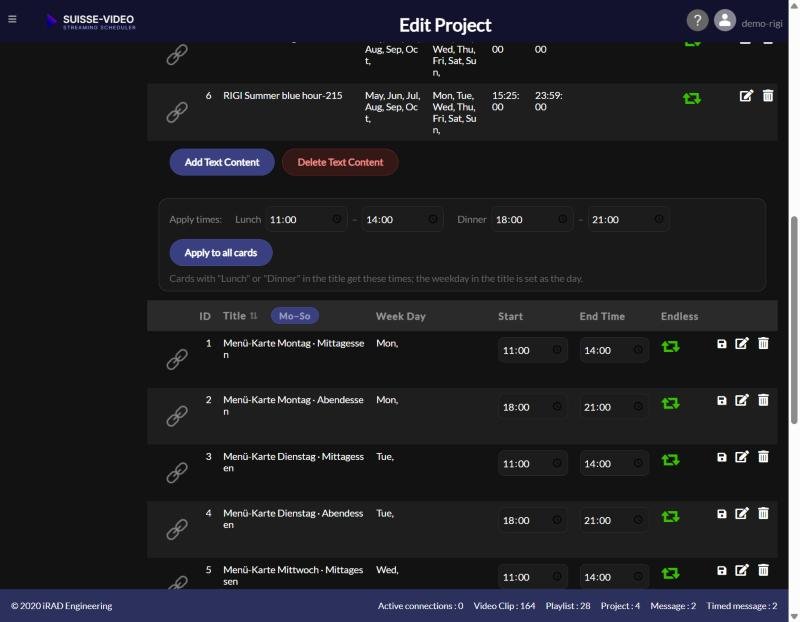
Create a lunch menu and a dinner menu under “Text content”. Give them clear names, such as “Monday – lunch” and “Monday – dinner”. Assign them in the project and set their display times. You can apply shared lunch and dinner times to the other weekdays.
Check exceptions
Check closed days and different weekend hours separately. You still update dishes and prices yourself; it is the switch between prepared menus that is automatic.
A quick test before launch
In a separate test project, schedule a menu for a short upcoming period. Open the project URL on your screen and watch the switch to the menu and back to video. Check whether guests can read the text from their usual viewing distance.
Practical tip
Start with a short daily menu rather than your entire food menu. This makes the current offer and its prices easier to take in.